So, now you’ve seen the self-hosted apps I run in my network, how they are configured, and what I use them for. The questions now is – “that’s all well and good for whilst I’m at home, but how do I access them when I’m not in my home network?”
The answer to that is – a Cloudflare tunnel.
A what?
A Cloudflare tunnel
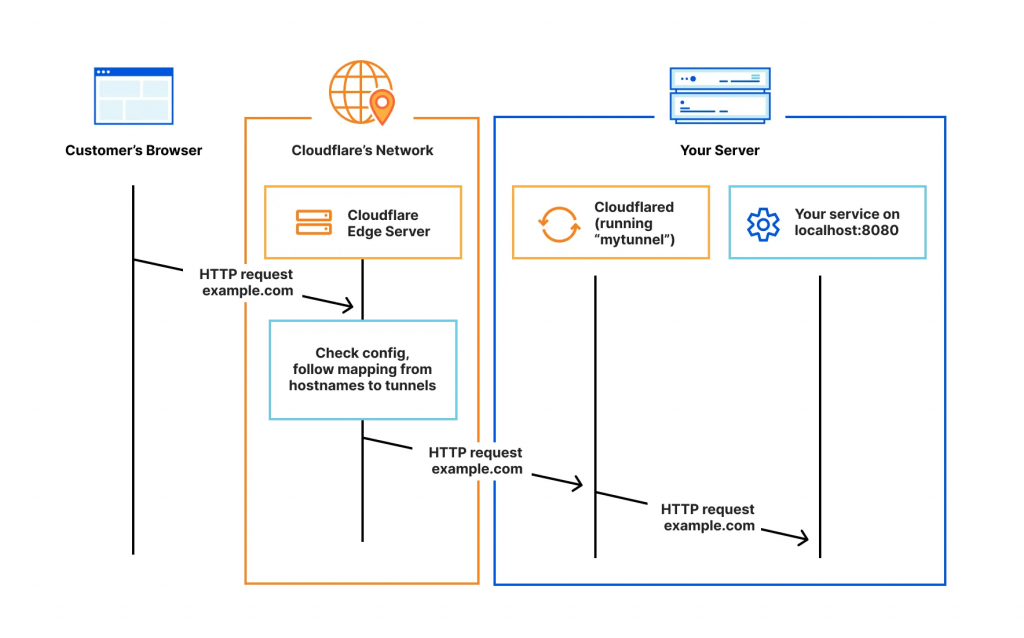
A Cloudflare Tunnel provides you with a secure way to connect resources to Cloudflare without a publicly routable IP address. With a Cloudflare Tunnel, you do not send traffic to an external IP Address, or do any form of port-forwarding on your router; instead you host a lightweight daemon in your network (cloudflared) which creates outbound-only connections to Cloudflare’s global network.
Tunnels are persistent objects that route traffic to DNS records, thus allowing you to operate as many subdomains within your main domain, with each subdomain pointing to a separate service within your network.
Once the outbound connection is established from the cloudflared daemon to Cloudflare, traffic flows in both directions through the tunnel between your origin and Cloudflare. Most firewalls allow outbound traffic by default, so cloudflared takes advantage of this by connecting out to the Cloudflare network from the server you installed cloudflared on. For added security, you can then configure the firewall to allow only these outbound connections and block all inbound traffic, effectively blocking access to your origin from anything other than Cloudflare. This setup ensures that all traffic to your origin is securely routed through the tunnel.
Setting up the tunnel
To create a Clourflare tunnel you need a few things:
- A Cloudflare account (free)
- A domain
- DNS managed by Cloudflare
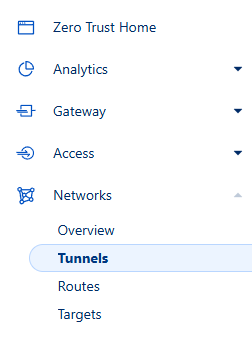
Once you have the Cloudflare account, you need to access the Networks portion of the Zero Trust settings
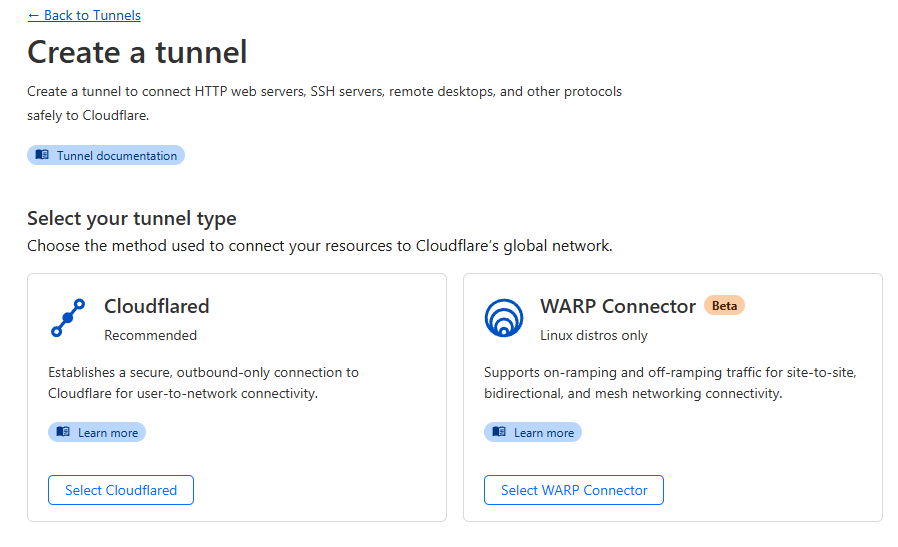
Select the option to create a tunnel and then select the Cloudflared option
Give the tunnel an appropriate name and save it

The nest step will ask you to pick the operating system which will host the cloudflared daemon. Once chosen, you will receive a script to run on that server that will install the connector and apply the unique security token it will use. You must keep this token secure as anyone with access to it will be able to access your tunnel.

Once you have your script, execute it on the relevant server to generate the daemon and establish the outbound connection
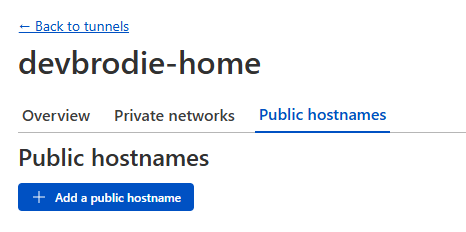
Once the tunnel is active, you can now start to build your subdomain services
Navigate to the Public hostnames section and add a new hostname
Add the subdomain name, the domain name you have, and Cloudflare will automatically create a DNS record that will point the resource to the tunnel, and then ultimately to the service within your network
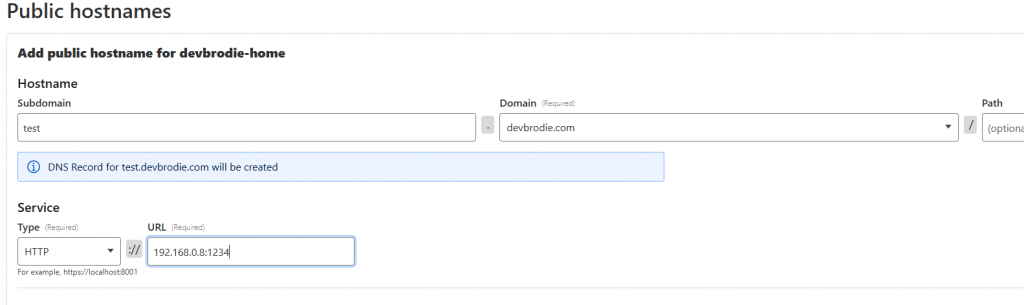
That’s it – you should now be able to access your resource by simply opening a browser and entering the URL you just created (e.g. test.devbrodie.com)
Simply repeat this process of adding public hostnames to the tunnel for each service you want to be able to access.
But wait… There’s more…
This is all well and good – you can now access all your self-hosted services -great. But so can anyone else who knows the URL.
As you can imagine, this is not wise, so you need to restrict who has access to your services by creating an access policy
To do this, navigate to the Access section of the Zero Trust settings and choose policies
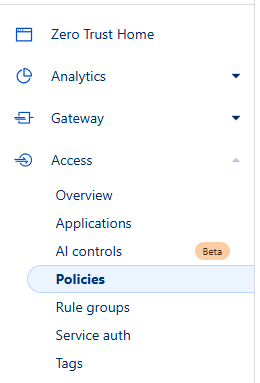
Add a new policy
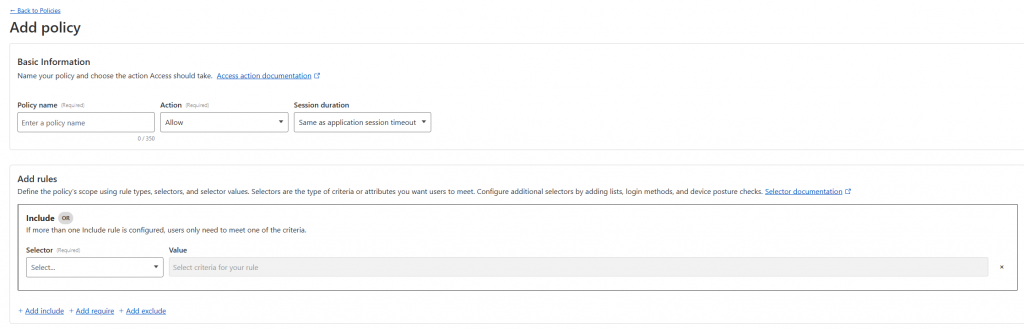
There are multiple policies you could create, but to ensure only you have access to your applications, I suggest you do the following:
- Name the policy (e.g. Allow-access)
- Set the Action to allow
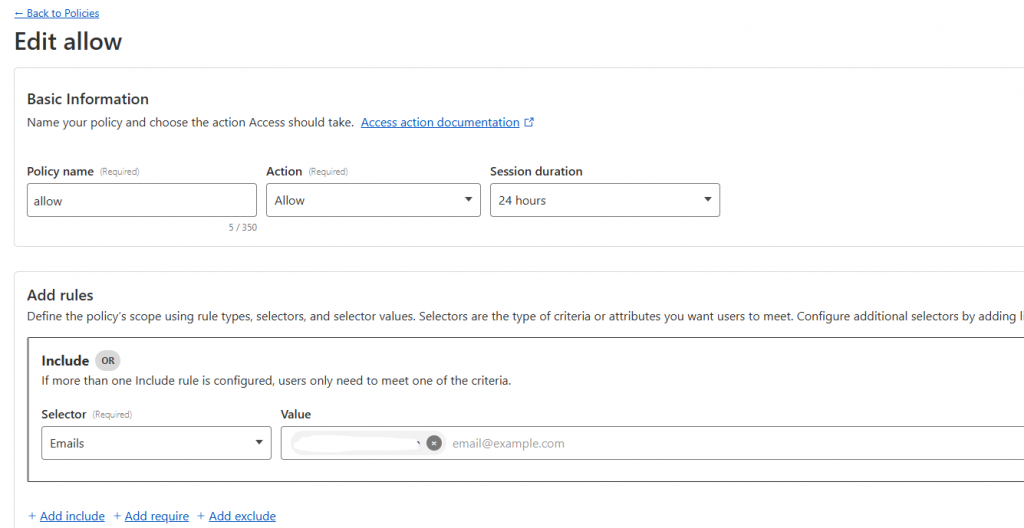
- Decide on a timeframe for the access to be granted (e.g. 24 hrs)
- Add a rule
- Use the email selector, and the enter only your email address – This will ensure that only the email address specified will be able to use the given access token.
Once you have created your policy, you can now assign it to each of your self-hosted applications by navigating to the applications section of the access settings
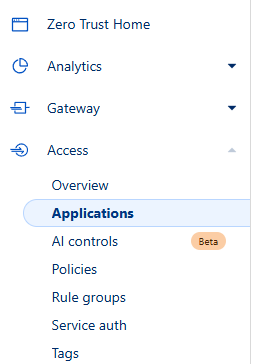
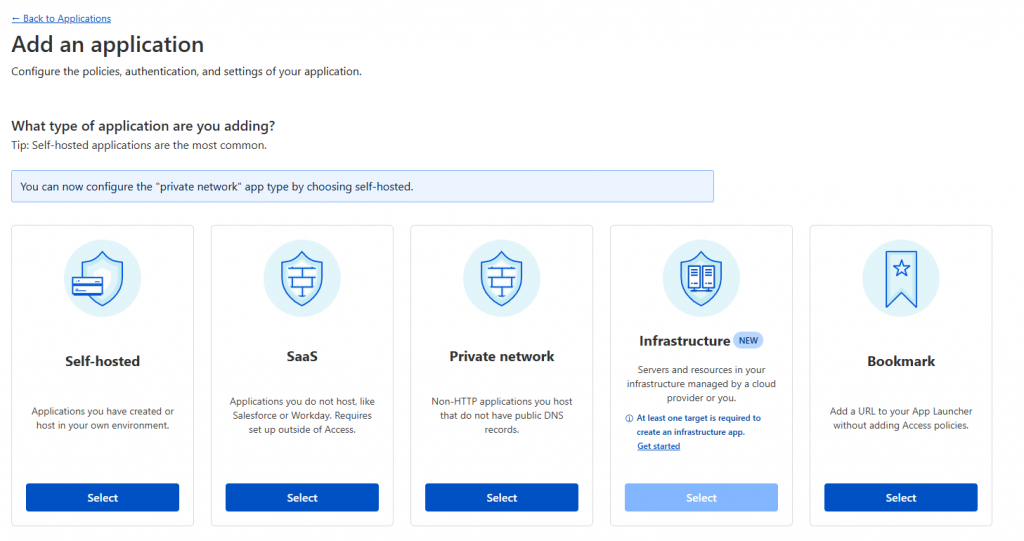
Once in here, add an application, and choose the self-hosted option
Give the application a name, set the access duration, and then add the public hostname as created earlier
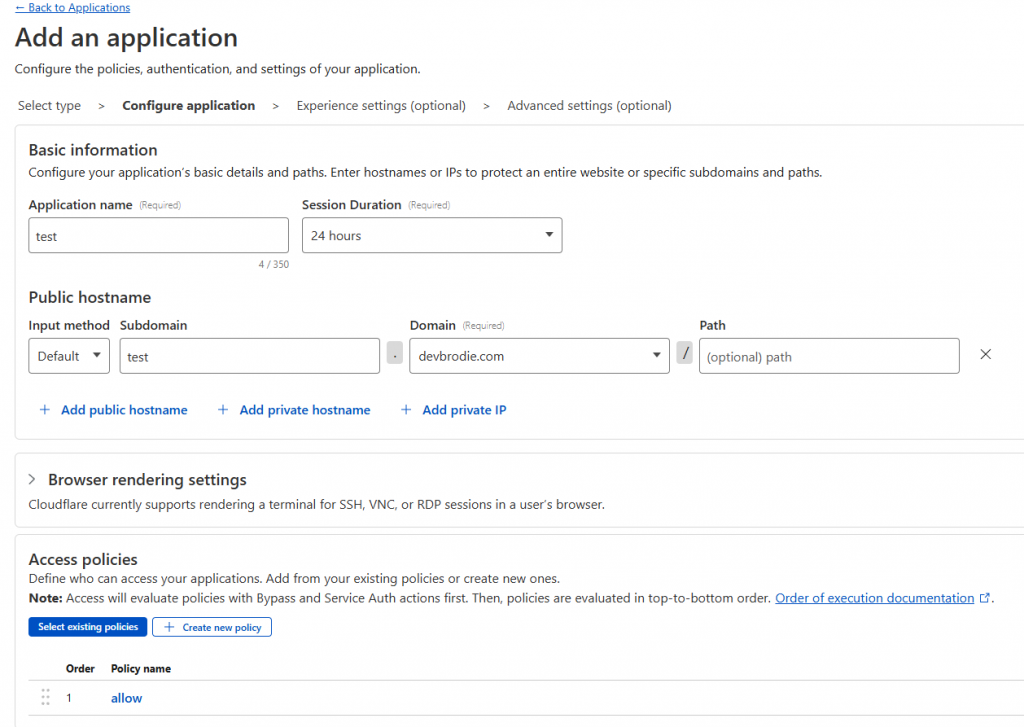
Under the Access policies, add the policy you just created, and click Next, click Next again, and finally click Save.
Now, when you enter the URL, if everything has been set correctly, you will receive a popup in the browser asking you to enter the email address for the token to be sent to.
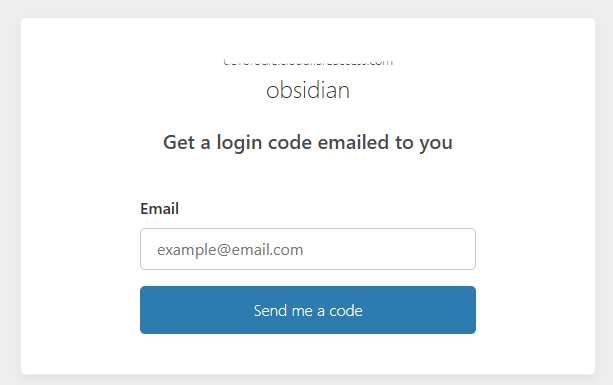
Any email address other than the one which you specified in the policy will still receive the token, but will be denied access if presented to the popup
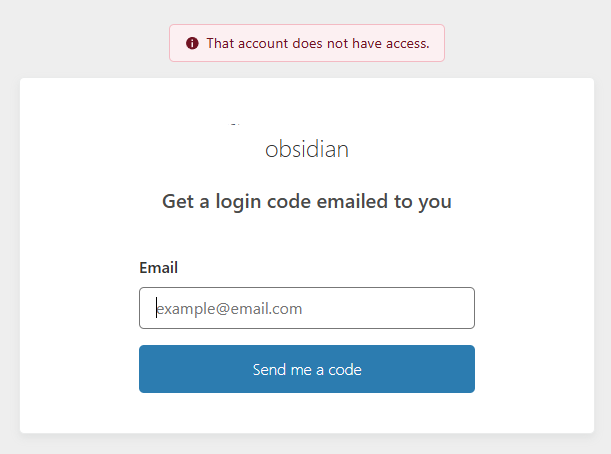
However, if the correct email is used for the token access, it will be granted and you can now use your application.