(09-01-23) Blog 9 – Changing your view
If you’ve been keeping up with this mini-series of pi-hole blogs and building your pi-hole as you go along. You might have noticed that the view of your devices differs from the how my pi-hole looks in the screenshots I’ve been posting.
By default, your pi-hole will show your devices by IP address / MAC address, which is great for the network, but not so useful to humans. However, with a bit of effort, you can add your own name values to those devices if you want.

Now I will state here and now – this is can be quite a time-intensive task to do, but it does pay dividends in the long run, so bear with me and you’ll see what I mean.
When your devices send DNS requests to your pi-hole, it will also send some extra data (meta-data) as well. this data includes the devices IP address and the devices MAC address.
By now you should have a good understanding of what the IP address does, but you may be unfamiliar with MAC addresses. As such, as I have done before, I’ll now provide a short primer on Ethernet & MAC addresses for those who need to know. Everyone else – skip ahead a few paragraphs.
Ethernet & MAC addresses – a short primer
When devices connect to a network, the data they send/receive is typically carried across the network inside a data structure known as an Ethernet frame.
Think of Ethernet frames a bit like car transporters – Ethernet is a carrier protocol for different other communications protocols – just like a car transporter is a vehicle that moves other vehicles from one place to another
The structure of an Ethernet frame looks like this:

Preamble and start frame delimiter
An Ethernet frame starts with a preamble and a start frame delimiter (SFD). The preamble consists of a 56-bit (seven-byte) pattern of alternating 1 and 0 bits, allowing other devices on the network to synchronize their receiver clocks. It is followed by the SFD to identify a new incoming frame.
Destination and Source MAC addresses
The MAC address is a unique value given by manufacturers to the networking interfaces they produce. If we know that an IP address uniquely identifies a host device in any given network, the MAC address uniquely identifies the network interface of a given host.
Ether-Type
The Ether-Type field can be used for two different purposes. Values of 1500 and below mean that it is used to indicate the size of the payload in octets, while values of 1536 and above indicate that it is used to indicate which protocol is encapsulated in the payload of the frame.
Data payload
This is the data the frame is carrying
Frame Check CRC
The frame check sequence (FCS) is a four-octet cyclic redundancy check (CRC) that allows detection of corrupted data within the entire frame as received on the receiver side
Interframe gap
Interframe gap is idle time data transmission. After a packet has been sent, transmitters are required to transmit a minimum of 96 bits (12 octets) of idle line state before transmitting the next packet.
So why is this useful to know for the Pi-hole?
If you can identify which MAC belongs to which device, you can then give that device a human-readable name in your pi-hole.
In some cases, your device will have it’s MAC address printed on it somewhere. Other devices might be a bit more difficult to identify, and might require some intensive investigation to work out which is which.
One approach for the technically minded is to use something such as nmap to scan the network to try to identify which device is which.
A less technical approach, albeit one which will work, is to simply unplug devices one by one and see which one disappears from your pi-hole.
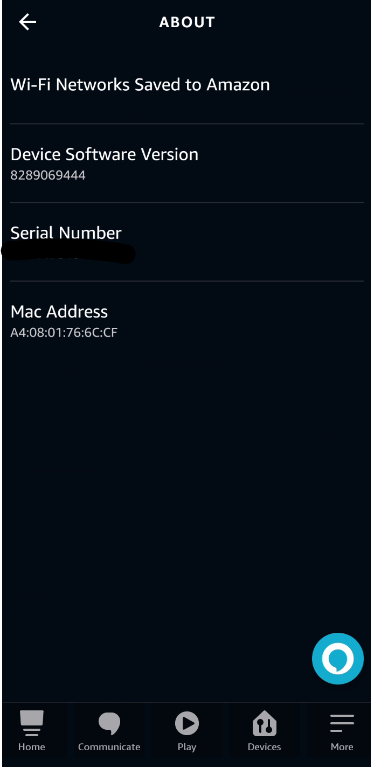
Some IoT devices will identify the MAC address in the app you use to control them. For example, if you use something like an Amazon Echo device, then the MAC address will found in the Alexa app.
Open the Alexa App, and go into Devices
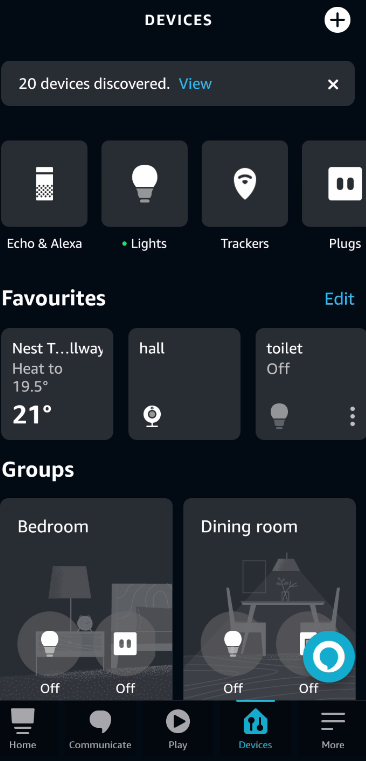
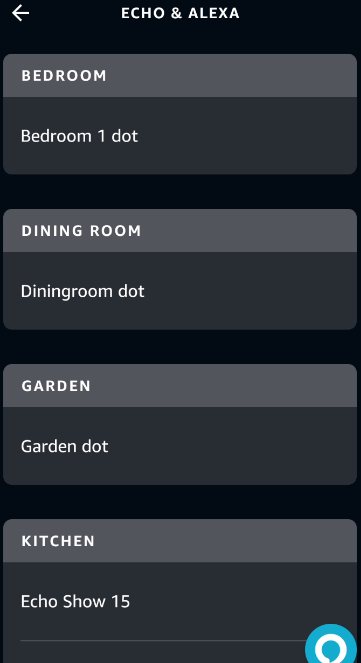
Click the icon to see your Echo & Alexa devices. and then choose the device you want to explore.
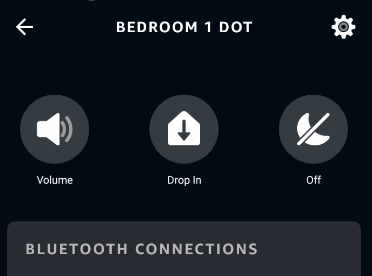
Click the cog icon to open the settings for the device
Scroll all the way to the bottom of the settings and click the About option
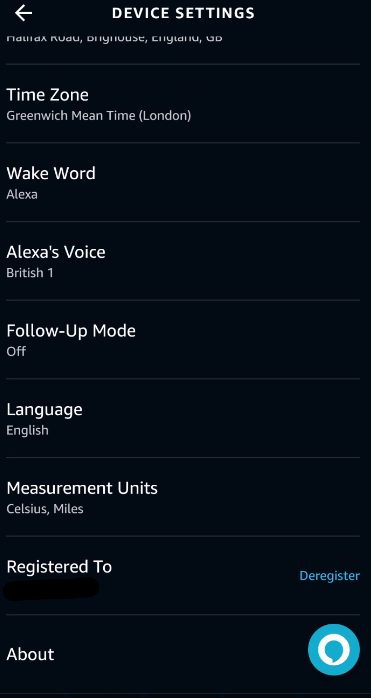
Here you will find the MAC address of the device
Once you have identified the MAC address, head back to the Pi-hole dashboard and navigate to the DHCP settings.
In here, you will be able to see all the devices in your network which the Pi has given IP addresses to. Locate the MAC address of the device you have just found.
Note : In my example below, I have already named my device, but in your case it will most likely say unknown in the device name field.
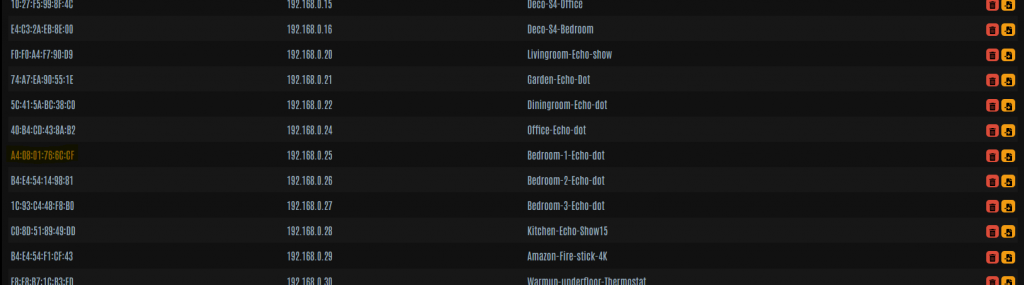
When you find right the MAC address in the list – click the yellow icon at the right-hand side of the line – this will copy the data into the fields at the bottom of the page.
With the data at the bottom of the page, you now have a couple of options.
Firstly, give the device a more human-friendly name

Secondly, If you want the device to always be given the same IP address, give it the one you want it to have. If you want the device to have a different IP address every time it connects to the network, leave the field blank.
Finally, click the green Plus button to add this new data to the pi-hole, and then click save to commit the changes.
Rinse and repeat these steps for every device you want give names to.
In my set-up, I have allocated static IP addresses to every device in my network when I named them. This has allowed me to also group certain device types by IP range. So for example, all my Amazon devices are in the 192.168.0.20-29 range.
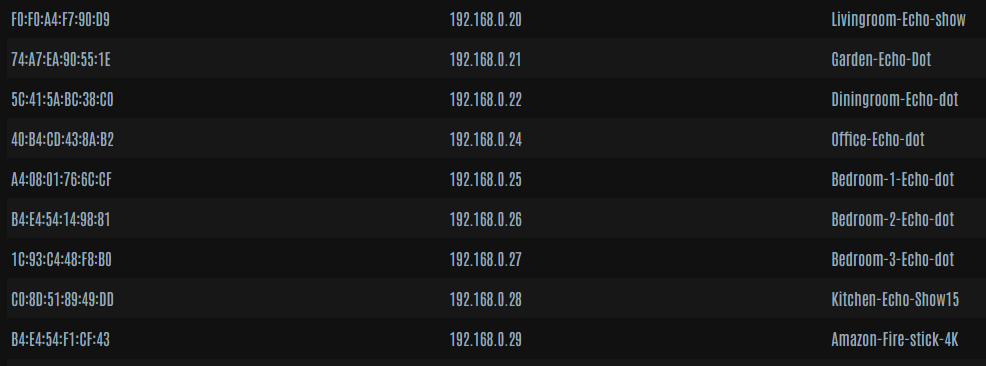
Of course, it’s entirely up to you how you wish to manage your own network, but I like it this way in mine.
In the next installment of this min-series of pi-hole blogs, I’ll take a look at how you can improve your pi-hole experience with the installation of the Unbound recursive-DNS resolver service.


