(08-01-23) Blog 8 – analysing your data
If you’ve been following this series of posts, hopefully by now you have a pi-hole up and running with all your devices using it and maybe even some groups set up to allow some devices a bit more freedom than others when it comes to online content.
So now what?
Well, you could sit back and just ignore the pi-hole and just let it do it’s thing, or you could take a bit of a dive in to the data you are collecting to see if you can fine-tune your block-lists a bit more.
Query Logs
Your Pi-hole has a number of ways to show you the DNS queries it is managing. The 1st of which is the Query Log.
The query log, by default only shows the last 100 queries, but there is the option for you to see all queries if you wish to – just click the show all option. Just be aware that if you have a “noisy” network, chosing to show all entries may take quite a while to fetch the results – it most likely will cause your browser to time out!
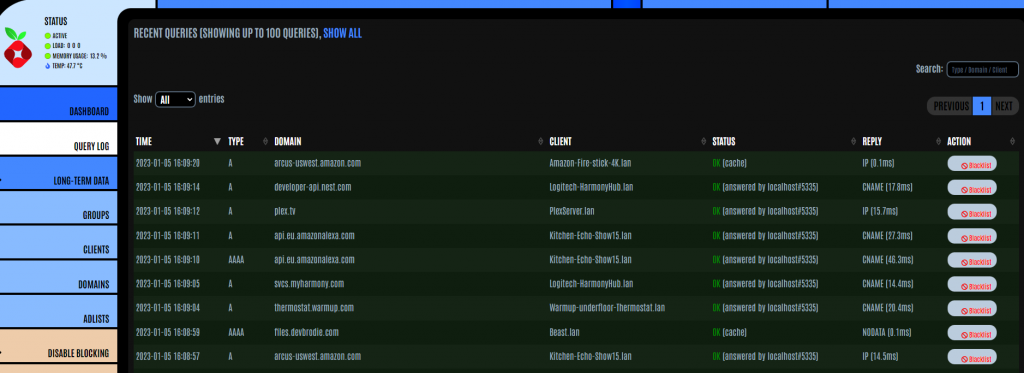
As you browse the log, you might see a request which you feel should be blocked – if that’s the case, then simply click the Blacklist button
Warning!
Before you go off clicking the black-list button willy-nilly, be aware that you might inadvertently block something which a device actually needs to have access to.
My advice therefore is to do two things:
- Research the domain you are looking to block BEFORE you click the blacklist button
- Make a note of which domains you block, so that IF you break something, you know which domains to unblock to put things back how they were!
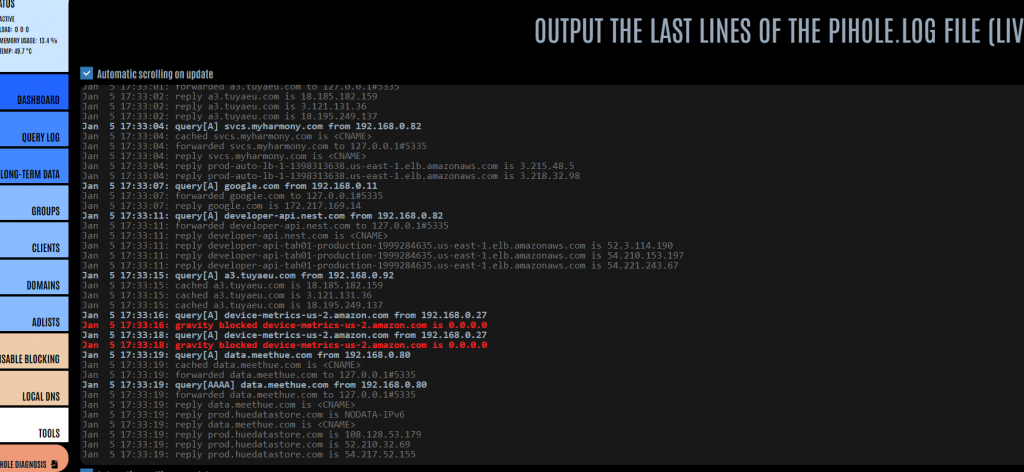
As an example, the screenshot below shows a DNS request for acsechocaptiveportal.com which I wasn’t sure if I should block or not.

Entering the domain in a browser took me to an empty webpage, but searching for the domain on Google eventually took me to the Netify.ai website which identified the domain as one used by Amazon’s Echo & FireTV devices.
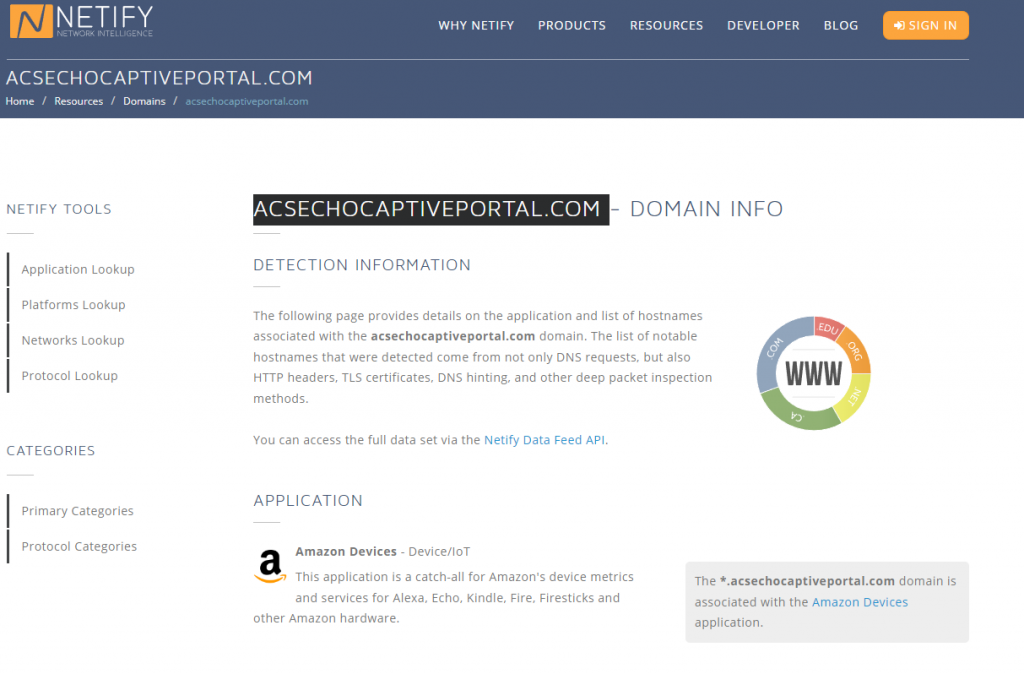
Further research identified this as one of many domains Amazon uses for sending telemetry data to.
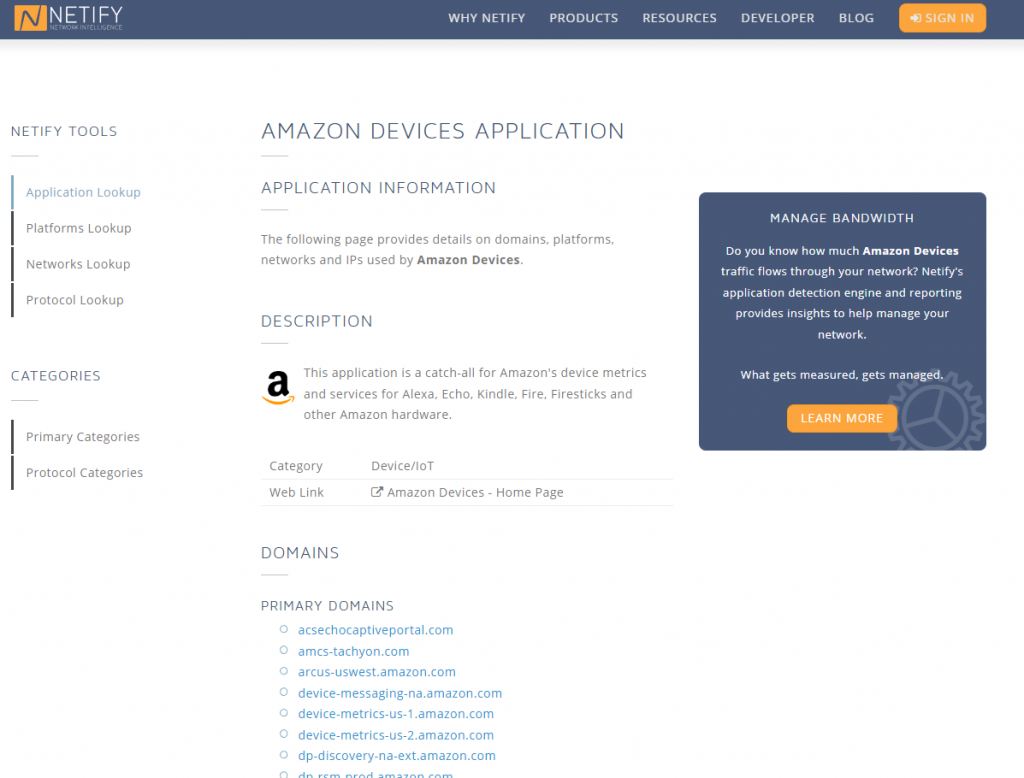
Additional research identified that this domain should be allowed to be accessed else it disrupts some of the Amazon device functionality.
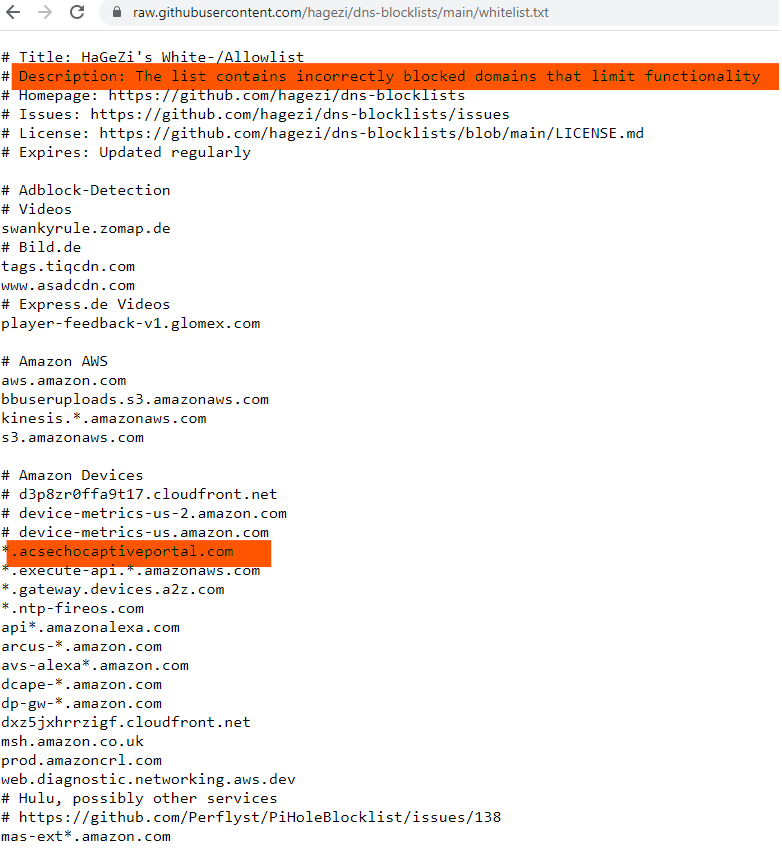
As such, I decided not to block this domain with my pi-hole 🙂
Long-Term Data
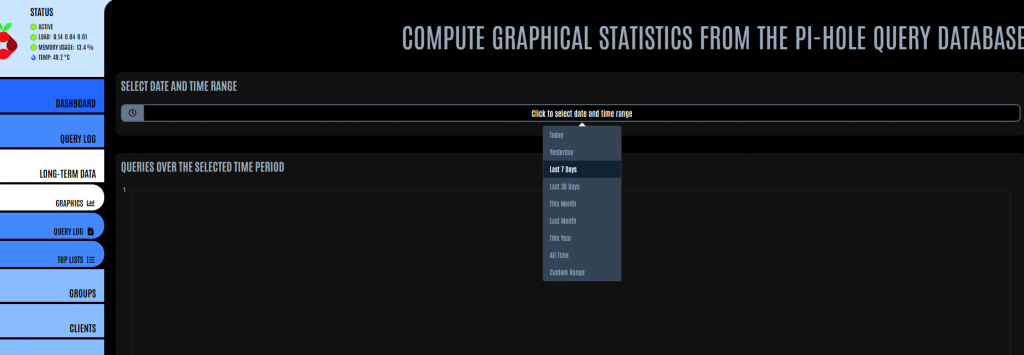
Another useful feature of the Pi-hole when it comes to identifying which DNS queries to block / allow is the Long Term Data option.
This function drills into the same Query Log data, but in a much more interactive manner.
There is a useful graphical option which shows the peaks and troughs of your DNS queries throughout a specified time-frame. This can be useful to identify when you had an issue in your network where ads slipped through, or maybe something didn’t work as it should because of something being blocked that maybe shouldn’t be.
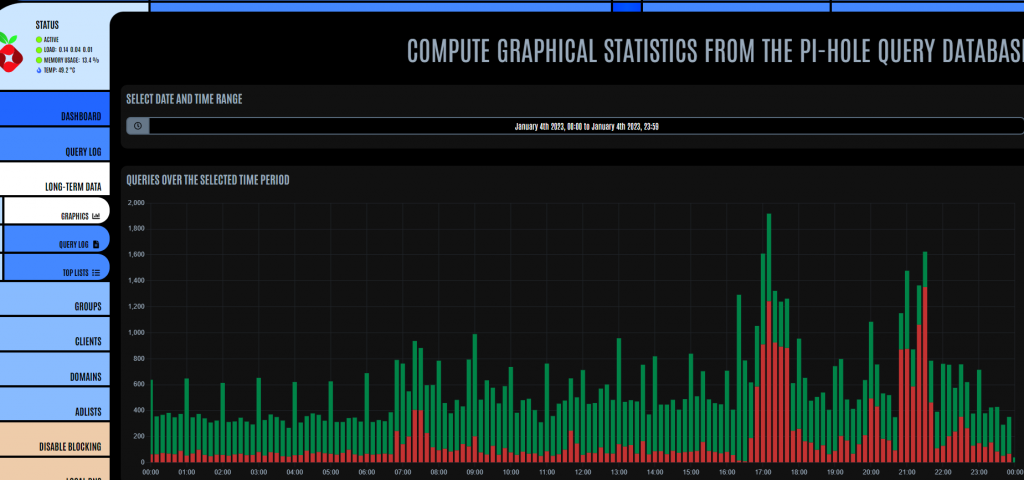
If you double-click on one of the bars, the system will drill into that section of time and show all the queries which were intercepted by the pi-hole.
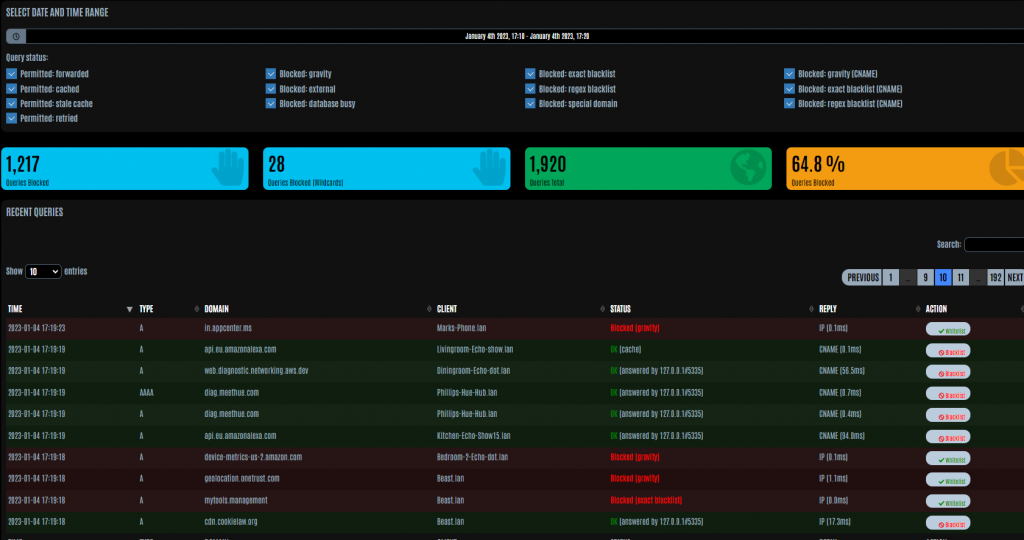
From this screen, you can now decide to either block or unblock a specific DNS query
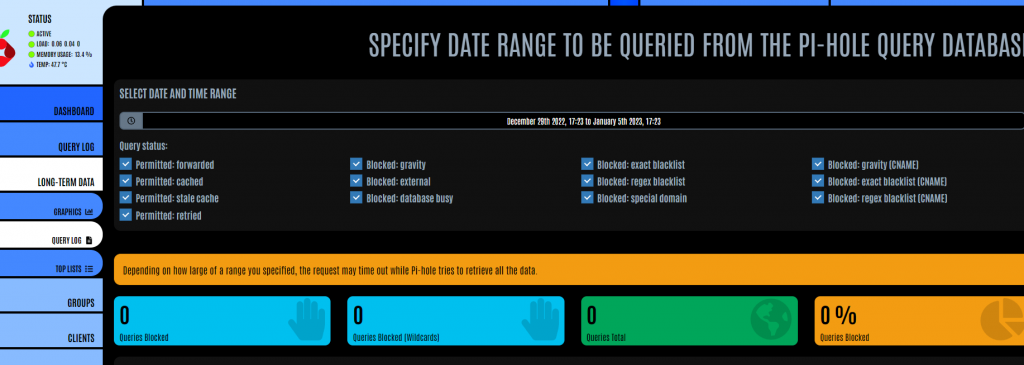
Alternatively, you can go straight to the Query Log section and specify a date range to query.
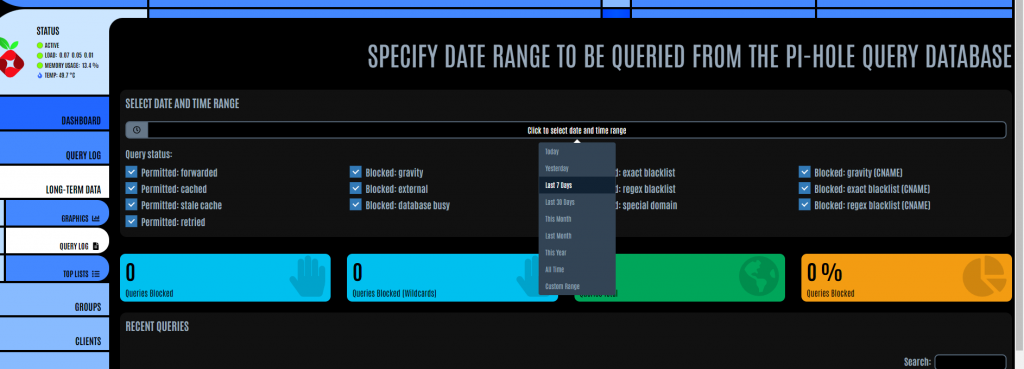
As mentioned previously, if you select a wide date range to analyse, it may take some time for the results to be returned.
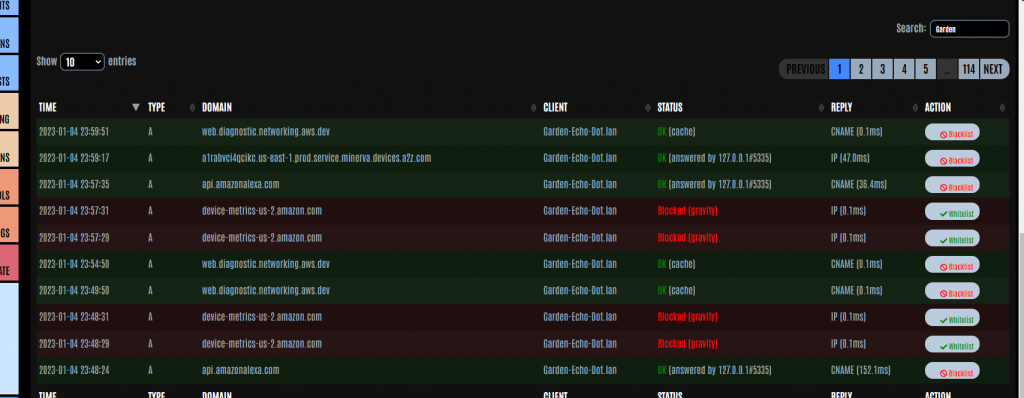
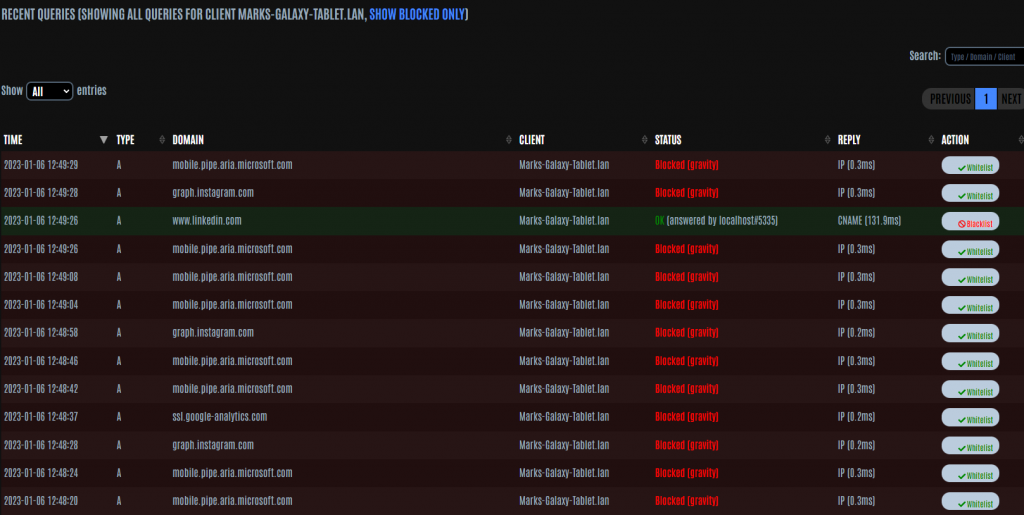
If there is a specific device you wish to query to see all the DNS requests made from that device, simply type the IP address or host name of the device in the search box and the results will auto-filter to show you the required data.
This feature can be extremely useful if you want to check that your groups (detailed in the last blog) are working as expected.
Using the example of having a group for young children, you can use this to ensure that no undesirable content is being accessed by their devices.
Tail the logs
A really useful thing know about the Pi-hole is that you can take a look at the query logs in real-time
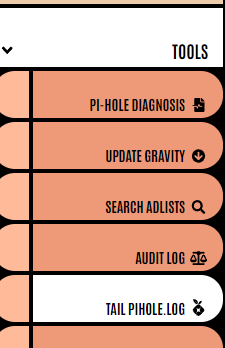
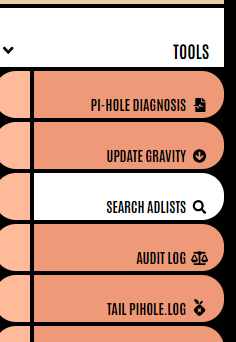
If you click the Tools option on the menu bar, you will see an option to Tail the pi-hole log.
Selecting this option will show you a live view of the DNS requests being made in your network live as the Pi-hole receives them, and the responses it gives.
This can be very useful when trying to fault-find if something is being blocked which is causing issues when accessing a web service – by trying to access the service whilst tailing the log, you will see exactly which DNS request is causing the problem. You can then use the query log to unblock the culprit domain.
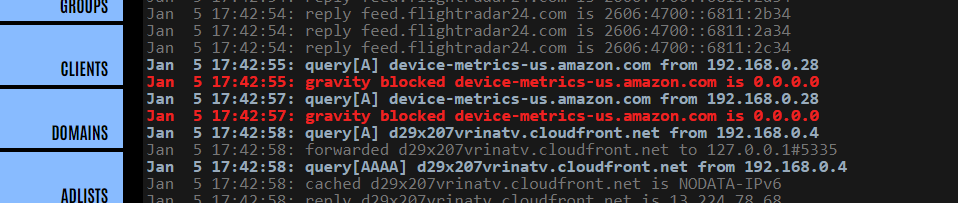
If you identify a domain which is being blocked when you think it shouldn’t be, you can copy the domain name and then use it in the Search adlists option.

Network data
Another great way to see which devices are making DNS requests is to use the Network view
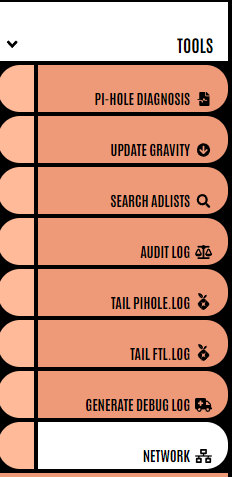
Clicking the Network option will display a table of all the devices in your network which the Pi-hole knows about.
When you examine this table for the 1st time it might be a little confusing in that it might show a device with multiple IP addresses and/or the same IP address alongside different devices.
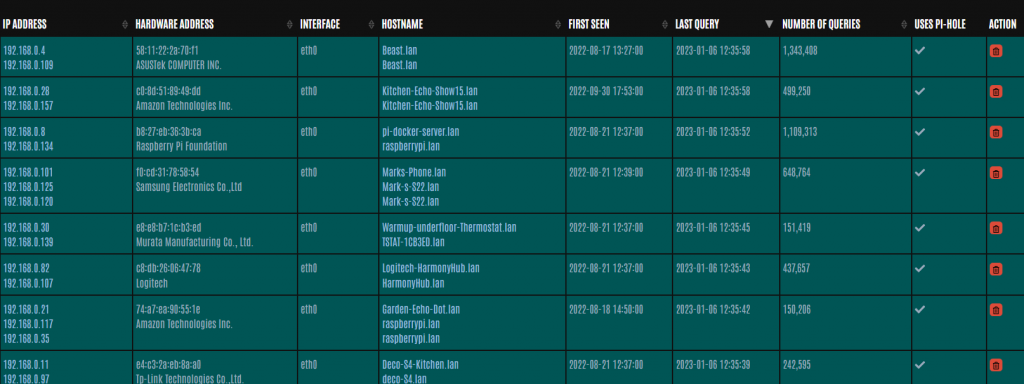
The reason for this is that the table is being populated with a large amount of data that might be showing legacy data when an IP address was allocated to a different device which is very common with DHCP unless you specify reserved IP addresses every time.
So in this example, my Echo Show 15″ was originally using the 192.168.0.157 IP address when I 1st set it up in my network, but then I re-configured the DHCP in my pi-hole to always give that device the 192.168.0.28 IP address.

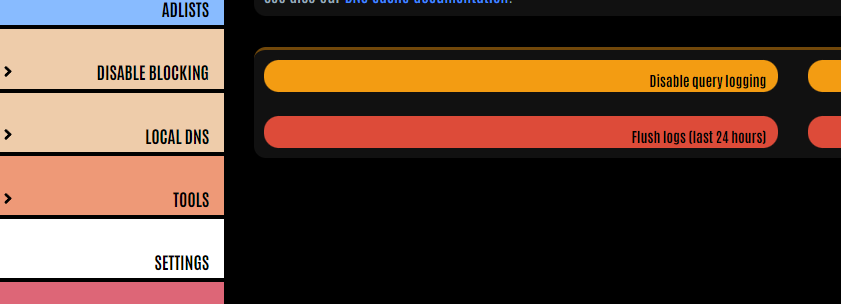
Clearing your Pi-hole log data will remove this confusing information. You can clear the last 24hrs worth of logs via the settings menu.
If you wish to see all the queries made by a particular device, simply click some of the data in the line which represents that device. This will now apply a filter to only show queries that device has made.
Hopefully you can now see the power of the Pi-hole, but there is a whole lot more you can do.
In the next installment, I will take a look at how you can set up your pi-hole with host-name data instead of IP addresses which will make it much easier to identify specific devices.